When you’re using a macOS-based system, knowing how to find the size of files is essential for managing your storage efficiently. Whether you’re trying to free up disk space or ensure your files are organized, macOS provides several ways to determine the size of files and directories. In this blog, we’ll explore various methods to find the size of files in macOS.
Using Terminal
For users comfortable with the command line, the Terminal provides powerful tools to find file sizes:
- Open Terminal: You can access Terminal by searching for it in Spotlight or finding it in the “Utilities” folder within the “Applications” directory.
- Use the
duCommand: To find the size of a single file, navigate to the file’s directory usingcd(change directory) and then use thedu(disk usage) command. For example, to find the size of a file named “example.txt,” you would use:
du -h example.txt
du (disk usage) is a command-line utility used to estimate file and directory space usage on Unix-like operating systems, including macOS. It provides various options to customize its behavior. Here are some common options used with the du command:
-h or –human-readable: This option makes the output more human-readable by displaying file sizes in kilobytes (KB), megabytes (MB), gigabytes (GB), etc., rather than in blocks. For example:
du -h directory_name
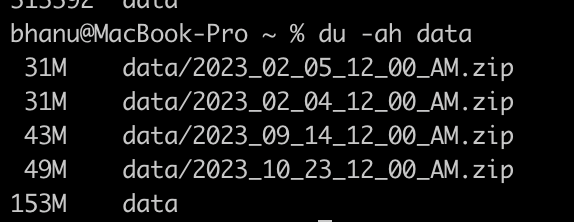
-a or –all: This option displays sizes for all files, not just directories. By default, du only displays the sizes of directories.
du -ah directory_name
-d or –max-depth=N: This option specifies the maximum depth of subdirectories to be displayed. For example, to show sizes only for the top-level directory and its immediate subdirectories:
du -hd 1 directory_name–threshold=SIZE: This option sets a threshold size. Files and directories smaller than the specified size will not be listed in the output. The size can be in bytes, kilobytes, megabytes, etc.
du -t 1M directory_name