Connecting a database in Micronaut involves several steps, and the process can vary depending on the type of database you’re using (SQL or NoSQL) and the database provider (e.g., MySQL, PostgreSQL, MongoDB, etc.). Here, I’ll provide a general guide for connecting to a Postgres database using Micronaut and R2DBC.
Prerequisites
Before connecting to a database in Micronaut, make sure you have the following prerequisites:
- Micronaut Application: Create a Micronaut project or have an existing one.
- Database: Ensure that you have a running instance of your chosen database system (e.g., MySQL, PostgreSQL) with a database schema and credentials.
- Docker: Required only if you don’t have Postgres instance running.
Steps to Connect to a Postgres Database in Micronaut
1. Run Postgres Database
If you already have an instance running you can skip this step. We will use docker to run a Postgres Container on port 5432 with root password as “root”
docker run -d --name postgres_demo -e POSTGRES_USER=postgresUser -e POSTGRES_PASSWORD=postgresPW -e POSTGRES_DB=postgresDB -p 5432:5432 postgres:latest2. Add Database Driver Dependencies
In your Micronaut project’s build.gradle (if using Gradle) or build.gradle.kts (if using Kotlin DSL), add the JDBC driver dependency for your database. For example, if you’re using MySQL, you would add the MySQL connector:
dependencies {
    // ...
    implementation('io.micronaut.sql:micronaut-jdbc-hikari:4.3.0')
    implementation("io.micronaut.data:micronaut-data-jdbc")
    runtimeOnly("org.postgresql:postgresql")
}
3. Configure Database Connection
Micronaut allows you to configure the database connection in the application.yml (or application.properties) file. Specify the database URL, username, and password as follows:
datasources:
  default:
    url: jdbc:postgresql://localhost:5432/postgresDB?preparedStatementCacheQueries=0
    driverClassName: org.postgresql.Driver
    username: postgresUser
    password: postgresPW
    dialect: POSTGRES
4. Create a Entity and Repository
For ease, Create a Student Table with 2 columns (Id and String) in Postgress. To support this
CREATE TABLE Students (
    id SERIAL PRIMARY KEY,
    name VARCHAR(255)
);
Create an Student Entity
package com.example.model

import io.micronaut.core.annotation.Introspected
import io.micronaut.data.annotation.MappedEntity

@MappedEntity(value = "students")
@Introspected
data class Student(
    var id: Long?,
    var name: String?
)
Create Student Repository
package com.example.repository

import com.example.model.Student
import io.micronaut.data.jdbc.annotation.JdbcRepository
import io.micronaut.data.model.query.builder.sql.Dialect
import io.micronaut.data.repository.CrudRepository

@JdbcRepository(dialect = Dialect.POSTGRES)
interface StudentRepository : CrudRepository<Student, Long>
5. Create a controller
package com.example.controller

import com.example.model.Student
import com.example.repository.StudentRepository
import io.micronaut.http.annotation.Body
import io.micronaut.http.annotation.Controller
import io.micronaut.http.annotation.Get
import io.micronaut.http.annotation.PathVariable
import io.micronaut.http.annotation.Post
import jakarta.inject.Inject

@Controller("/student")
class StudentController {

    @Inject
    lateinit var studentRepository: StudentRepository
    @Post("/")
    suspend fun save(@Body student: Student): Student {
        return studentRepository.save(student)
    }

    @Get("/{id}")
    suspend fun get(@PathVariable id: Long): Student? {
        return studentRepository.findById(id).get()
    }
}PR: https://github.com/cw-bhanunadar/Micronaut-playground/pull/12/files
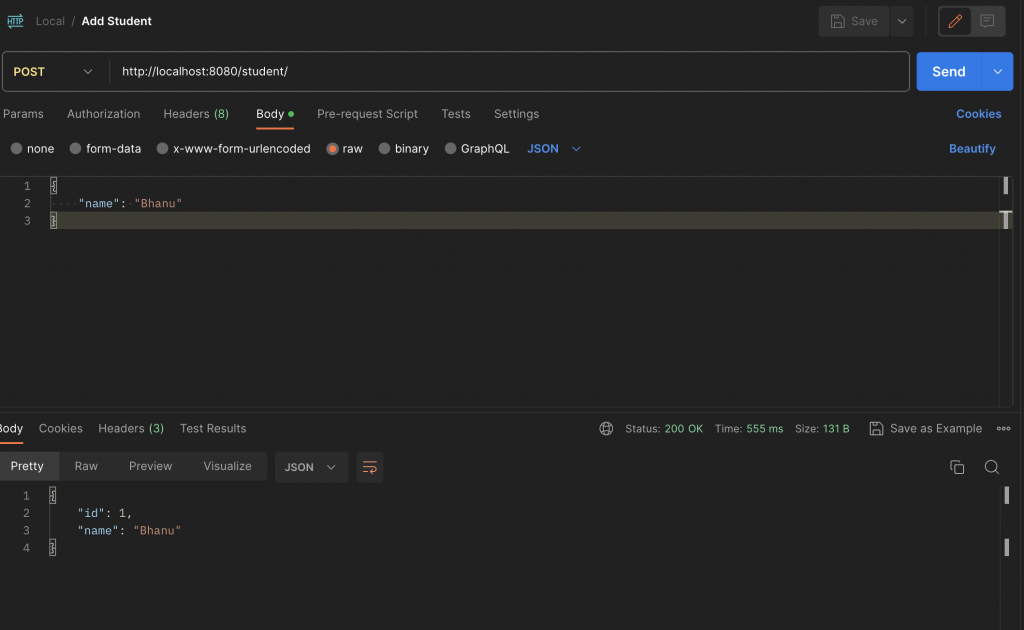
6. Check if it’s working
curl --location 'http://localhost:8080/student/' \
--header 'Content-Type: application/json' \
--data '{
    "name": "Bhanu"
}'

