Swagger is a powerful tool for documenting and testing RESTful APIs. It provides a user-friendly interface for developers to understand and interact with the API. In this blog, we will explore how to integrate Swagger into a Micronaut application, making API documentation and testing a breeze.
What is Swagger?
Swagger is an open-source framework that allows you to design, build, document, and consume RESTful APIs. It provides tools for developers to define API specifications, generate documentation, and even test API endpoints. Swagger simplifies the API development process and enhances collaboration between developers and stakeholders.
Step 1: Add Swagger Dependencies
To integrate Swagger into your Micronaut project, you need to add the necessary dependencies. Open your build.gradle.kts (for Gradle Kotlin DSL) or build.gradle (for Groovy) file and add the following dependencies:
implementation('io.swagger.core.v3:swagger-annotations:2.2.8')
kapt('io.micronaut.openapi:micronaut-openapi:4.8.5')
If kapt is not installed, check how to include Kapt Enabling kapt in Micronaut
Use annotationProcessorinstead of kapt if using java as a language
Step 2: Add routes in Application.yml
This configuration is necessary to enable Swagger documentation and Swagger UI in your Micronaut application. It ensures that the Swagger UI assets and API definitions are served as static resources, making them accessible through specific URLs. Developers and users can use Swagger UI to explore and interact with your API, improving the overall API development and testing experience.
micronaut:
  router:
    static-resources:
      swagger:
        paths: classpath:META-INF/swagger
        mapping: /swagger/**
      swagger-ui:
        enabled: true
        paths: classpath:META-INF/swagger/views/swagger-ui
        mapping: /swagger-ui/**
Step 3: Configure Swagger Metadata
@OpenAPIDefinition(
    info = Info(
        title = "micronaut-playground",
        version = "0.0"
    )
)
object Api
fun main(args: Array<String>) {
    run(*args)
}
This annotation is part of Micronaut’s integration with Swagger (OpenAPI). It’s used to define metadata about your API. In this case we defined title and version.
Step 4: Annotate Your Controllers
We will annotate the controllers with some metadata example.
@Get("/test-thymeleaf")
    @Operation(summary = "Thymeleaf test endpoint")
    suspend fun testThymeleaf(): String {	    suspend fun testThymeleaf(): String {
}Implementation:https://github.com/cw-bhanunadar/Micronaut-playground/pull/9/files
Step 5: Run the Application and Access Swagger UI
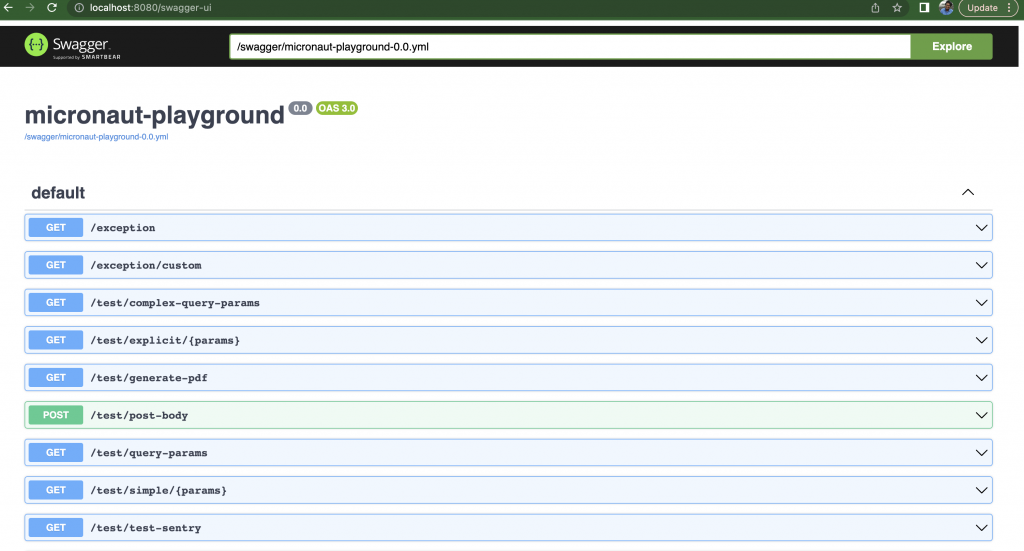
Start your Micronaut application using your preferred method (e.g., ./gradlew run or ./mvnw mn:run). Once your application is running, open a web browser and navigate to http://localhost:8080/swagger-ui.
You’ll see the Swagger UI, which provides a user-friendly interface to explore and test your API endpoints. You can view detailed documentation, execute API requests, and even export the API definition in various formats